Configure WPS on your modem
WiFi Protected Setup (WPS) provides an easy and secure way to establish a wireless network by sharing the wireless key between your modem and devices.
Note: Your modem settings may appear slightly different from the images below, but the steps will be the same.
1. Connect a device to your network over WiFi or using an Ethernet cable connected to your modem. This works best on a tablet or computer.
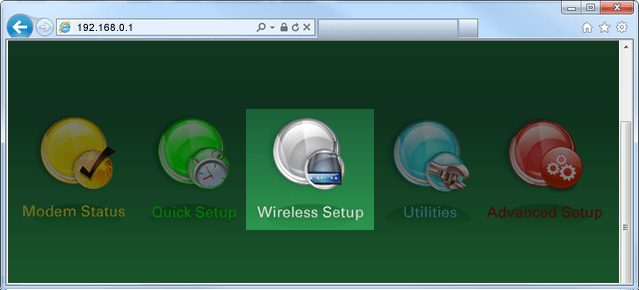
2. Open a web browser and type http://192.168.0.1 into the web address field.

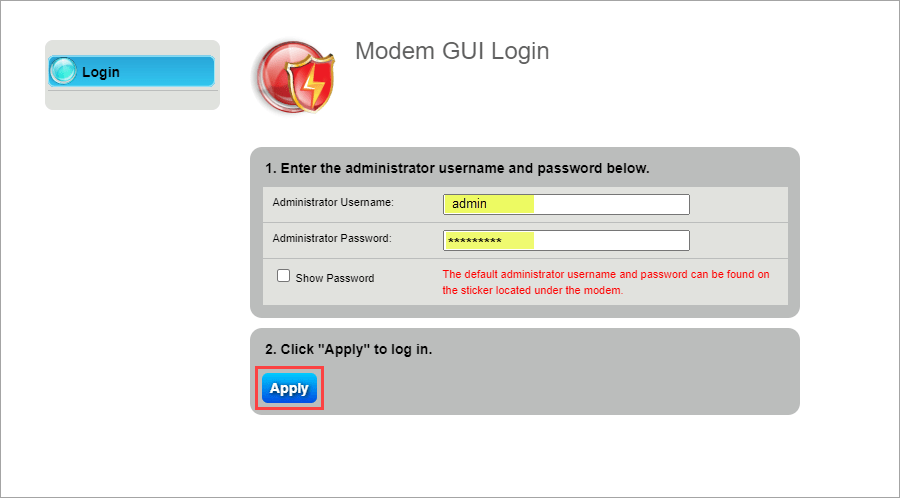
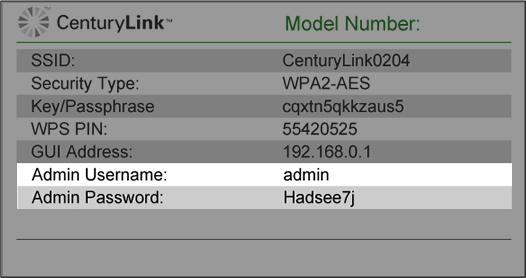
3. Sign in to the modem settings (GUI) using your Admin Username and Admin Password, printed on the sticker.

4. Select Wireless Setup in the main menu.

5. If given the choice, select 2.4 GHz or 5 GHz in the left sidebar. Some models do not offer this option. Read more about the how to choose between 2.4 and 5 GHz frequency, and learn which modems have this capability.

6. Select WPS in the menu on the left.

7. Here you can disable WPS, select the WPS type, and initiate a device to connect to your network. You can also initiate a connection by pressing the WPS button on your modem or within the device settings.

Top Tools
Was this information helpful?
Support topics


.png)


