We no longer support this browser. For an optimal experience, we recommend updating your browser.
How to set up a fax line
You can send and receive faxes with your Connected Voice Basic service. Follow the steps below to configure your line to allow faxes.
Configure your line for fax
1. Sign in to your Connected Voice account.
2. Select Account from the top menu bar of your home screen.
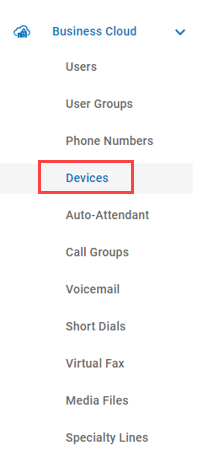
2. Open your account drop down on the left side (in the example here, the account is "Business Cloud.")
3. Click on Devices.
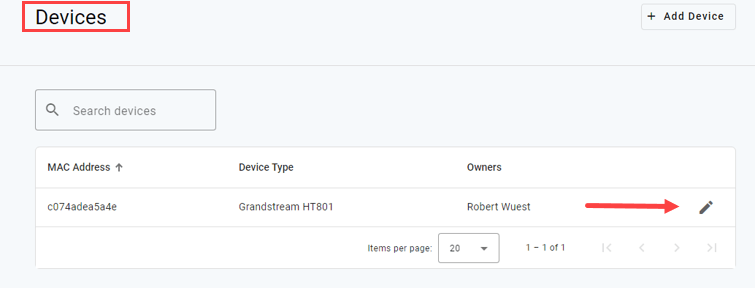
4. You'll see the devices that are assigned to your service. For Basic service, this will only be the ATA adapter. Click the pencil icon.
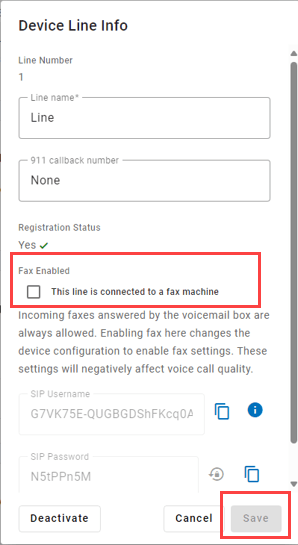
5. Now you'll configure the line to identify that it's for fax in addition to voice. Click the pencil icon on the Line Configuration screen.

6. Select the box to identify the line as being connected to a fax machine. This will allow you to send and receive faxes on your Connected Voice line. Be sure to click the Save button at the bottom of the screen.
Set line as fax only
If your Connected Voice line is ONLY connected to a fax machine, you need to take some extra steps to be sure you can receive faxes.
You'll need to turn off voicemail so that the machine has time to answer and receive a fax before it goes to voicemail. You'll also want to set the line to have a busy tone instead of going to voicemail.
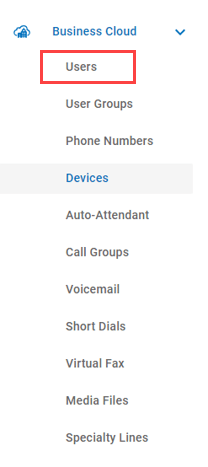
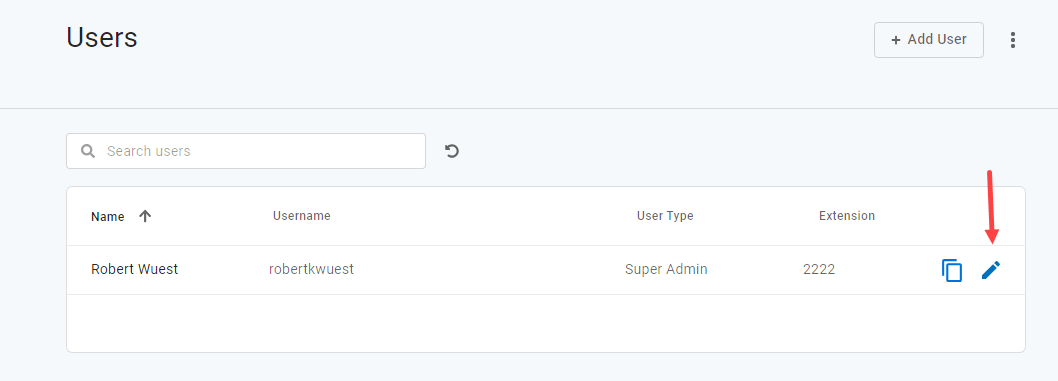
1. Return to your main account menu and select Users.
2. Click the pencil icon next to the user. For Basic service, there will only be one user.
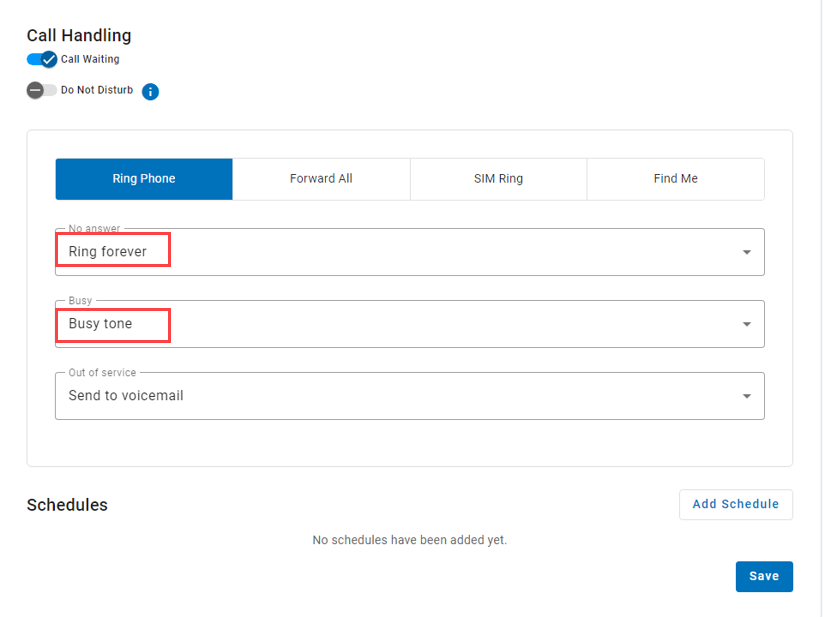
3. In the call handling section, set the No Answer option to Ring forever. This turns off voicemail. Set the Busy option to Busy tone. Be sure to click the Save button when you're done.
Top Internet Topics
-
Check for an outage -
Troubleshooting slow internet -
Speed hub -
Upgrade your service -
WiFi support -
Internet security
View all Internet topics
Top Tools
Was this information helpful?
Support topics
About Lumen | About CenturyLink | Careers | Investor Relations | Newsroom | Legal | Privacy Notice | Tariffs | Customers with Disabilities | Site Map | Cookie Settings | CenturyLink in Your Area | CenturyLink.net | Quantum Fiber in Your Area | White/Yellow Pages | Centurylink Retailer
Residential | Small Business | Enterprise | ©2025 CenturyLink. All Rights Reserved.