How to find the best WiFi channel on your modem
In the Wireless Status section of your modem's user settings, you can find the best WiFi channel. If your modem isn't set to the best channel already, read on for how to change it to optimize WiFi performance.
Your modem will find and select the best channel automatically whenever it boots up. To refresh the channel, you can reboot your modem instead of finding and setting the best channel manually. You can follow the instructions below if the auto-select feature isn't working, or if you want to manually change the channel.
Note: Your modem settings may appear slightly different from the images below, but the steps will be the same.
1. Connect a device to your network over WiFi or using an Ethernet cable connected to your modem. This works best on a tablet or computer.
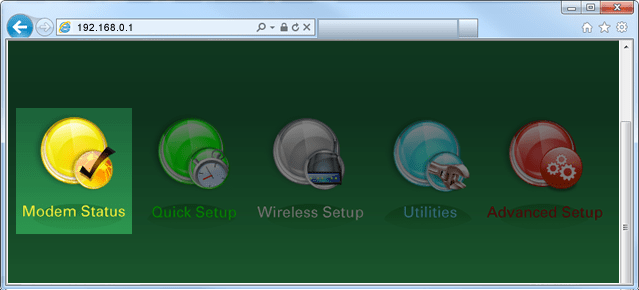
2. Open a web browser and type http://192.168.0.1 into the web address field.

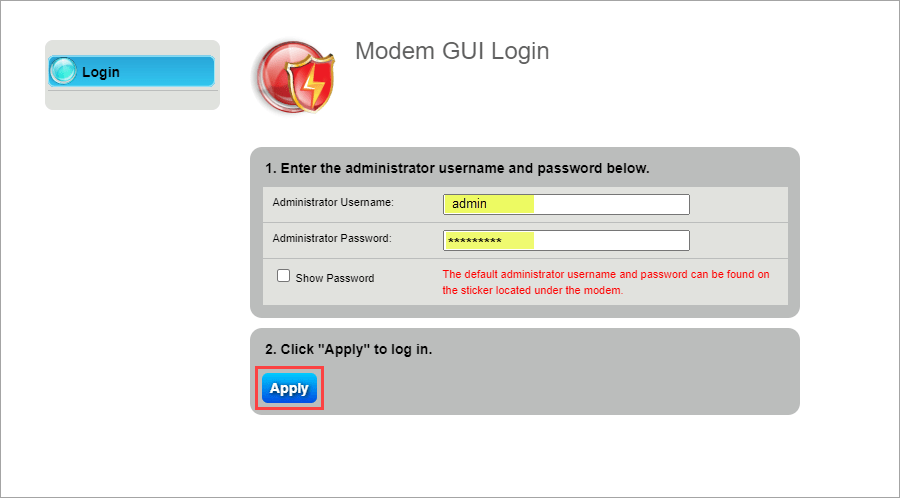
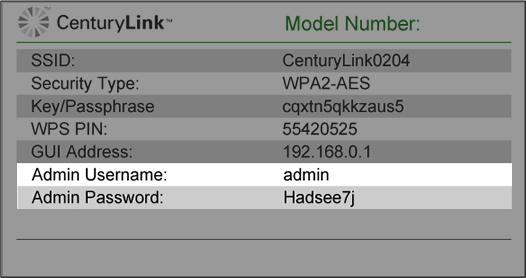
3. Sign in to the modem settings (GUI) using your Admin Username and Admin Password, printed on the sticker.

4. Select Modem Status in the main menu.

5. Select Wireless Status in the menu on the left sidebar.

6. Select 2.4 GHz or 5 GHz to view settings for each of your modem's wireless frequency bands (some modems may only have 2.4 GHz). If your modem is dual-band, you can repeat these steps for each frequency.

7. On the next screen, you can view the current channel and compare it to the best available channel. If you are not on the best channel, you can change the WiFi channel in the Wireless Settings menu.

Top Tools
Was this information helpful?
Support topics


.png)


