How to configure Quality of Service (QoS) on your modem
Quality of Service (QoS) allows you to prioritize certain devices or certain types of internet traffic (such as VoIP or video). This can improve performance for certain applications when bandwidth is tight, and prevent your network from becoming overloaded.
1. Connect a device to your network over WiFi or using an Ethernet cable connected to your modem. This works best on a tablet or computer.
2. Open a web browser and type http://192.168.0.1 into the web address field.

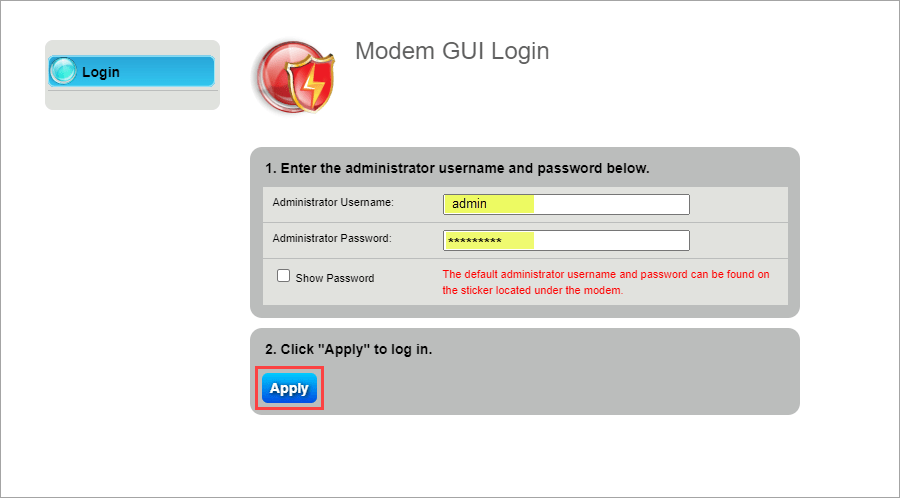
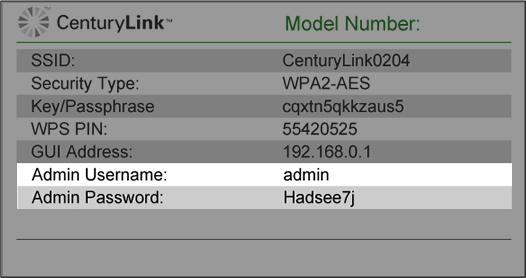
3. Sign in to the modem settings (GUI) using your Admin Username and Admin Password, printed on the sticker.

4. Select Advanced Setup in the main menu.

5. Select QoS in the left sidebar.
6. Follow the steps to edit the QoS settings. Depending on your modem, you may see slight differences in how the options appear.
If you have a C4000 series modem, follow the instructions at the bottom of this page.
- Step 1: Enable QoS.
- Step 2: Set the QoS traffic direction to upstream or downstream (or both, in newer models).
- Step 3: Select the QoS type, or "Create Custom QoS" to define your own priority rule by IP address (recommended for advanced users only). You can create multiple rules for different QoS types and/or devices. You can also remove previously created rules from the QoS Rule List at the bottom of the screen.
- Step 4: When you're finished adding or removing items, click "Apply" to save your changes.

Top Tools
Was this information helpful?
Support topics


.png)


