How to configure an IPoE connection on your modem
Caution! An IPoE configuration will typically only be used by some Static IP customers. We recommend that you do not change this setting unless advised to do so by a technician.
1. Connect a device to your network over WiFi or using an Ethernet cable connected to your modem. This works best on a tablet or computer.
2. Open a web browser and type http://192.168.0.1 into the web address field.

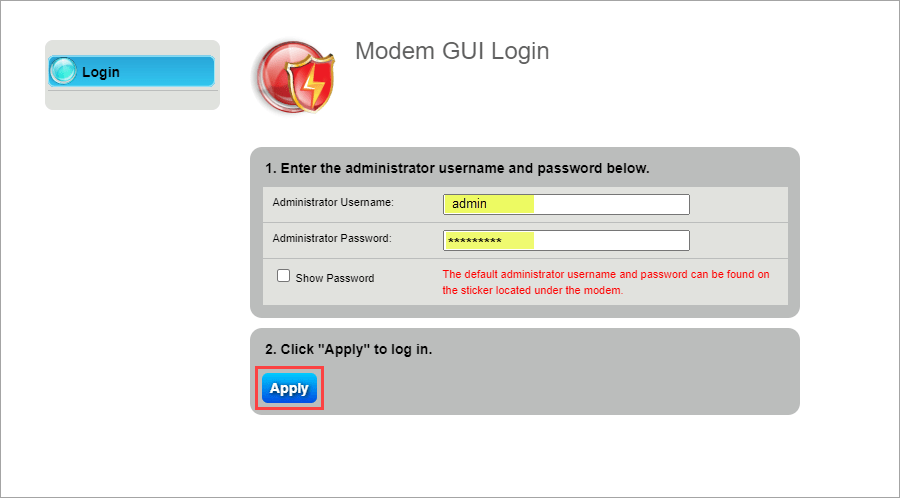
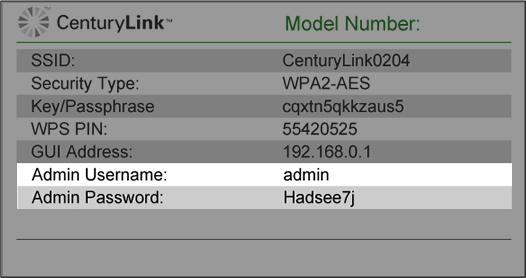
3. Sign in to the modem settings (GUI) using your Admin Username and Admin Password, printed on the sticker.

4. Select Advanced Setup in the main menu.

5. Select WAN Settings in the left sidebar menu.

6. Select Auto Select from the drop-down for the ISP Protocol, then Apply.

7. Select LAN Subnets in the next section of the side menu.

8. Enter the name for the LAN subnet you want to create. Note: The LAN subnet name cannot contain spaces.

9. Select the interface(s) you want to associate with the subnet you are adding. Most users will want to select Ethernet 1, Ethernet 2, Ethernet 3 and Ethernet 4.

10. Select Enable next to both "IPv4 Addressing State" and "Modem IPv4 Admin Access."

11. Enter the Network Address, Subnet Mask and Gateway Address that were provided to you when you leased your IP address.
Zyxel users: If you have a Zyxel modem, it may incorrectly fill in the gateway address. Click in the Gateway Address field, and enter the address provided when you leased your Static IP address. If you need help locating this information, contact us.

12. Select Apply to save your changes.

Top Tools
Was this information helpful?
Support topics


.png)


